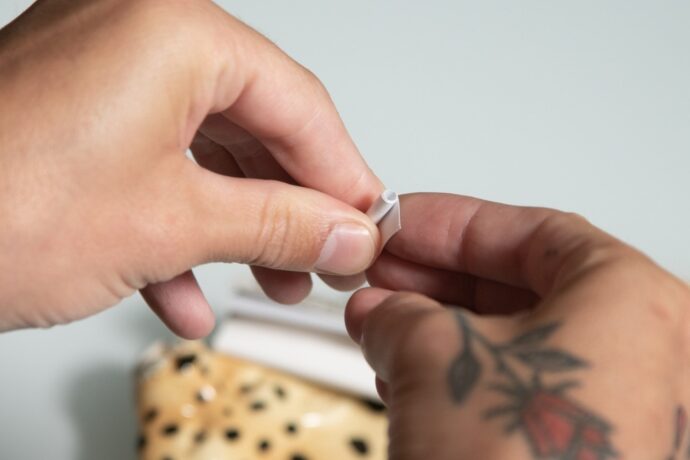
For many cannabis enthusiasts, a perfectly rolled joint is a work of art—a small, personal ritual of relaxation and enjoyment. But sometimes, you might not want to finish a joint in one sitting. Whether you’re interrupted, want to ration your stash, or simply prefer to enjoy your cannabis slowly over time, learning how to properly put out a joint and save it for later can save you money and keep your smoking experience fresh.
In this comprehensive guide, we’ll explore why it’s important to preserve your joint correctly, the best methods to extinguish it without ruining the cannabis, and tips for storing it so it remains potent and flavourful for your next session.
Why Save a Joint for Later?
Before diving into the “how,” it’s worth understanding why you might want to save a joint:
- Pacing Yourself: Maybe you’re not ready to finish the whole joint at once or want to limit your intake.
- Unexpected Interruptions: Sometimes life calls, and you need to pause your session.
- Sharing with Others: Saving part of a joint can help you share later without rolling a new one.
- Maximizing Your Cannabis: Stretching your stash by preserving partly smoked joints reduces waste.
Saving a joint properly means retaining the flavor, potency, and freshness of the cannabis—something that improper handling can quickly ruin.
Common Mistakes When Putting Out a Joint
Many smokers unintentionally damage their joint when trying to put it out for later:
- Squashing the Tip: Pressing the burning end too hard can crush the cannabis, making it hard to relight.
- Crushing or Folding: Bending or crushing the joint can cause the paper to tear or create uneven burning spots.
- Blowing Out Hard: Blowing out the joint forcefully can scatter ashes and cause cannabis loss.
- Exposing It to Air or Moisture: Improper storage after putting it out can dry out the cannabis or lead to mold growth.
Avoiding these mistakes is key to keeping your joint usable and enjoyable when you want to light it again.
How to Properly Put Out a Joint
Step 1: Slow and Gentle Extinguishing
Instead of crushing the tip or blowing hard, try one of these gentler methods:
- Snuff It Out: Use your fingers to gently pinch the lit tip and gently roll it on a non-flammable surface like a glass ashtray or metal. This deprives the ember of oxygen and puts it out without crushing the cannabis.
- Tapping Off the Ash: Lightly tap the joint on an ashtray or surface to remove ash, then gently pinch the tip to extinguish. Avoid squeezing too hard.
- Use Your Tongue or Moisture: Some users lightly touch the ember with a damp fingertip or moist tongue to put it out. Be careful to avoid tearing the paper.
Step 2: Don’t Crush or Fold the Joint
Keep the joint straight and intact. Avoid bending or folding the joint, as this can damage the structure and paper, making relighting difficult.
Step 3: Make a Loose Twist or Fold
If you want to prevent the joint from burning or unraveling, loosely twist the paper at the tip or fold the paper gently to close it off. Avoid making it too tight, which can crush the cannabis.
Best Practices for Storing a Partially Smoked Joint
Once you’ve put out your joint, proper storage is crucial to preserve it.
1. Use an Airtight Container
Place your joint in an airtight container, like a glass jar with a seal or a plastic stash box. This prevents air from drying out the cannabis and protects it from moisture and contaminants.
2. Keep It in a Cool, Dark Place
Avoid heat and light, which degrade THC and terpenes, diminishing potency and flavor. Store your container in a drawer or cupboard away from direct sunlight.
3. Use a Joint Saver or Case
Specialized joint savers or tube cases offer protection from crushing and light exposure. These are compact and perfect for on-the-go storage.
4. Avoid Excessive Handling
Try not to handle the joint excessively as oils from your hands can affect the paper and cannabis quality.
How Long Can You Save a Joint?
If stored properly, a joint can remain usable for several days to a week or more. However, over time:
- The cannabis may dry out, leading to harsher smoke and loss of flavour.
- Terpenes (responsible for aroma and flavour) degrade, reducing the overall experience.
- The paper may become brittle or lose its shape.
For best results, consume your saved joint within a few days.
How to Relight a Saved Joint Properly
When you’re ready to smoke your saved joint, proper relighting can enhance your experience:
- Gently Tap Off Any Loose Ash: Before lighting, tap off any loose ash to prevent clogging.
- Use a Lighter or Hemp Wick: Light the joint slowly and evenly to avoid burning too much at once. A hemp wick offers a cleaner burn.
- Puff Lightly: Take light puffs initially to get the joint burning evenly again without wasting cannabis.
- Avoid Deep Inhales Immediately: Let the joint stabilize before taking deep inhales for better taste and smoother smoke.
Tips for Maintaining Joint Freshness
- Consider Humidity Packs: Adding a small humidity control pack (like Boveda) to your stash container can help maintain ideal moisture levels.
- Don’t Mix With Other Strong Odours: Store separately to avoid your joint absorbing unwanted smells.
- Avoid Freezing: Freezing can cause condensation and damage the joint structure.
Why Saving Joints Is Eco-Friendly and Cost-Effective
Saving joints not only stretches your cannabis supply but also reduces waste:
- Less Cannabis Waste: By preserving unused portions, you get more use out of your purchase.
- Reduced Rolling Paper Waste: Fewer joints rolled means less paper consumption.
- Less Environmental Impact: Efficient use supports sustainability in cannabis consumption.
Final Thoughts: Master the Art of Saving Your Joint
Learning how to properly put out a joint and save it for later is a valuable skill for any cannabis user. With gentle extinguishing methods, careful storage, and mindful relighting, you can enjoy your cannabis more economically and sustainably without sacrificing quality.
Whether you’re a casual smoker or an experienced connoisseur, adopting these habits can enhance your cannabis experience and reduce waste.
Shop Pre-Rolls Online at West Coast Cannabis